1

cheesecake swirled brownies

Brownies are all the rage on the cooking/recipe related websites and blogs, due to its versatility and ease in the making. But cheesecake swirled brownies seem to have caught on lately, and who am I to deny the fad once in awhile? And really, cheese plus brownies… who am I to resist?!

IMG_7480

Over one of the weekends, my parents decided to take a trip back to Penang to visit my grandparents and family. Sadly for me, it’s the week for my thesis submission, and between scrambling to get it done and looking for a job (as I’m soon to be unemployed, no excuse of my Masters thesis to be lazing around anymore), I just couldn’t follow them. To make up for my absence though, I whipped up a batch of brownies to appease my 30 odd family members back at the island.

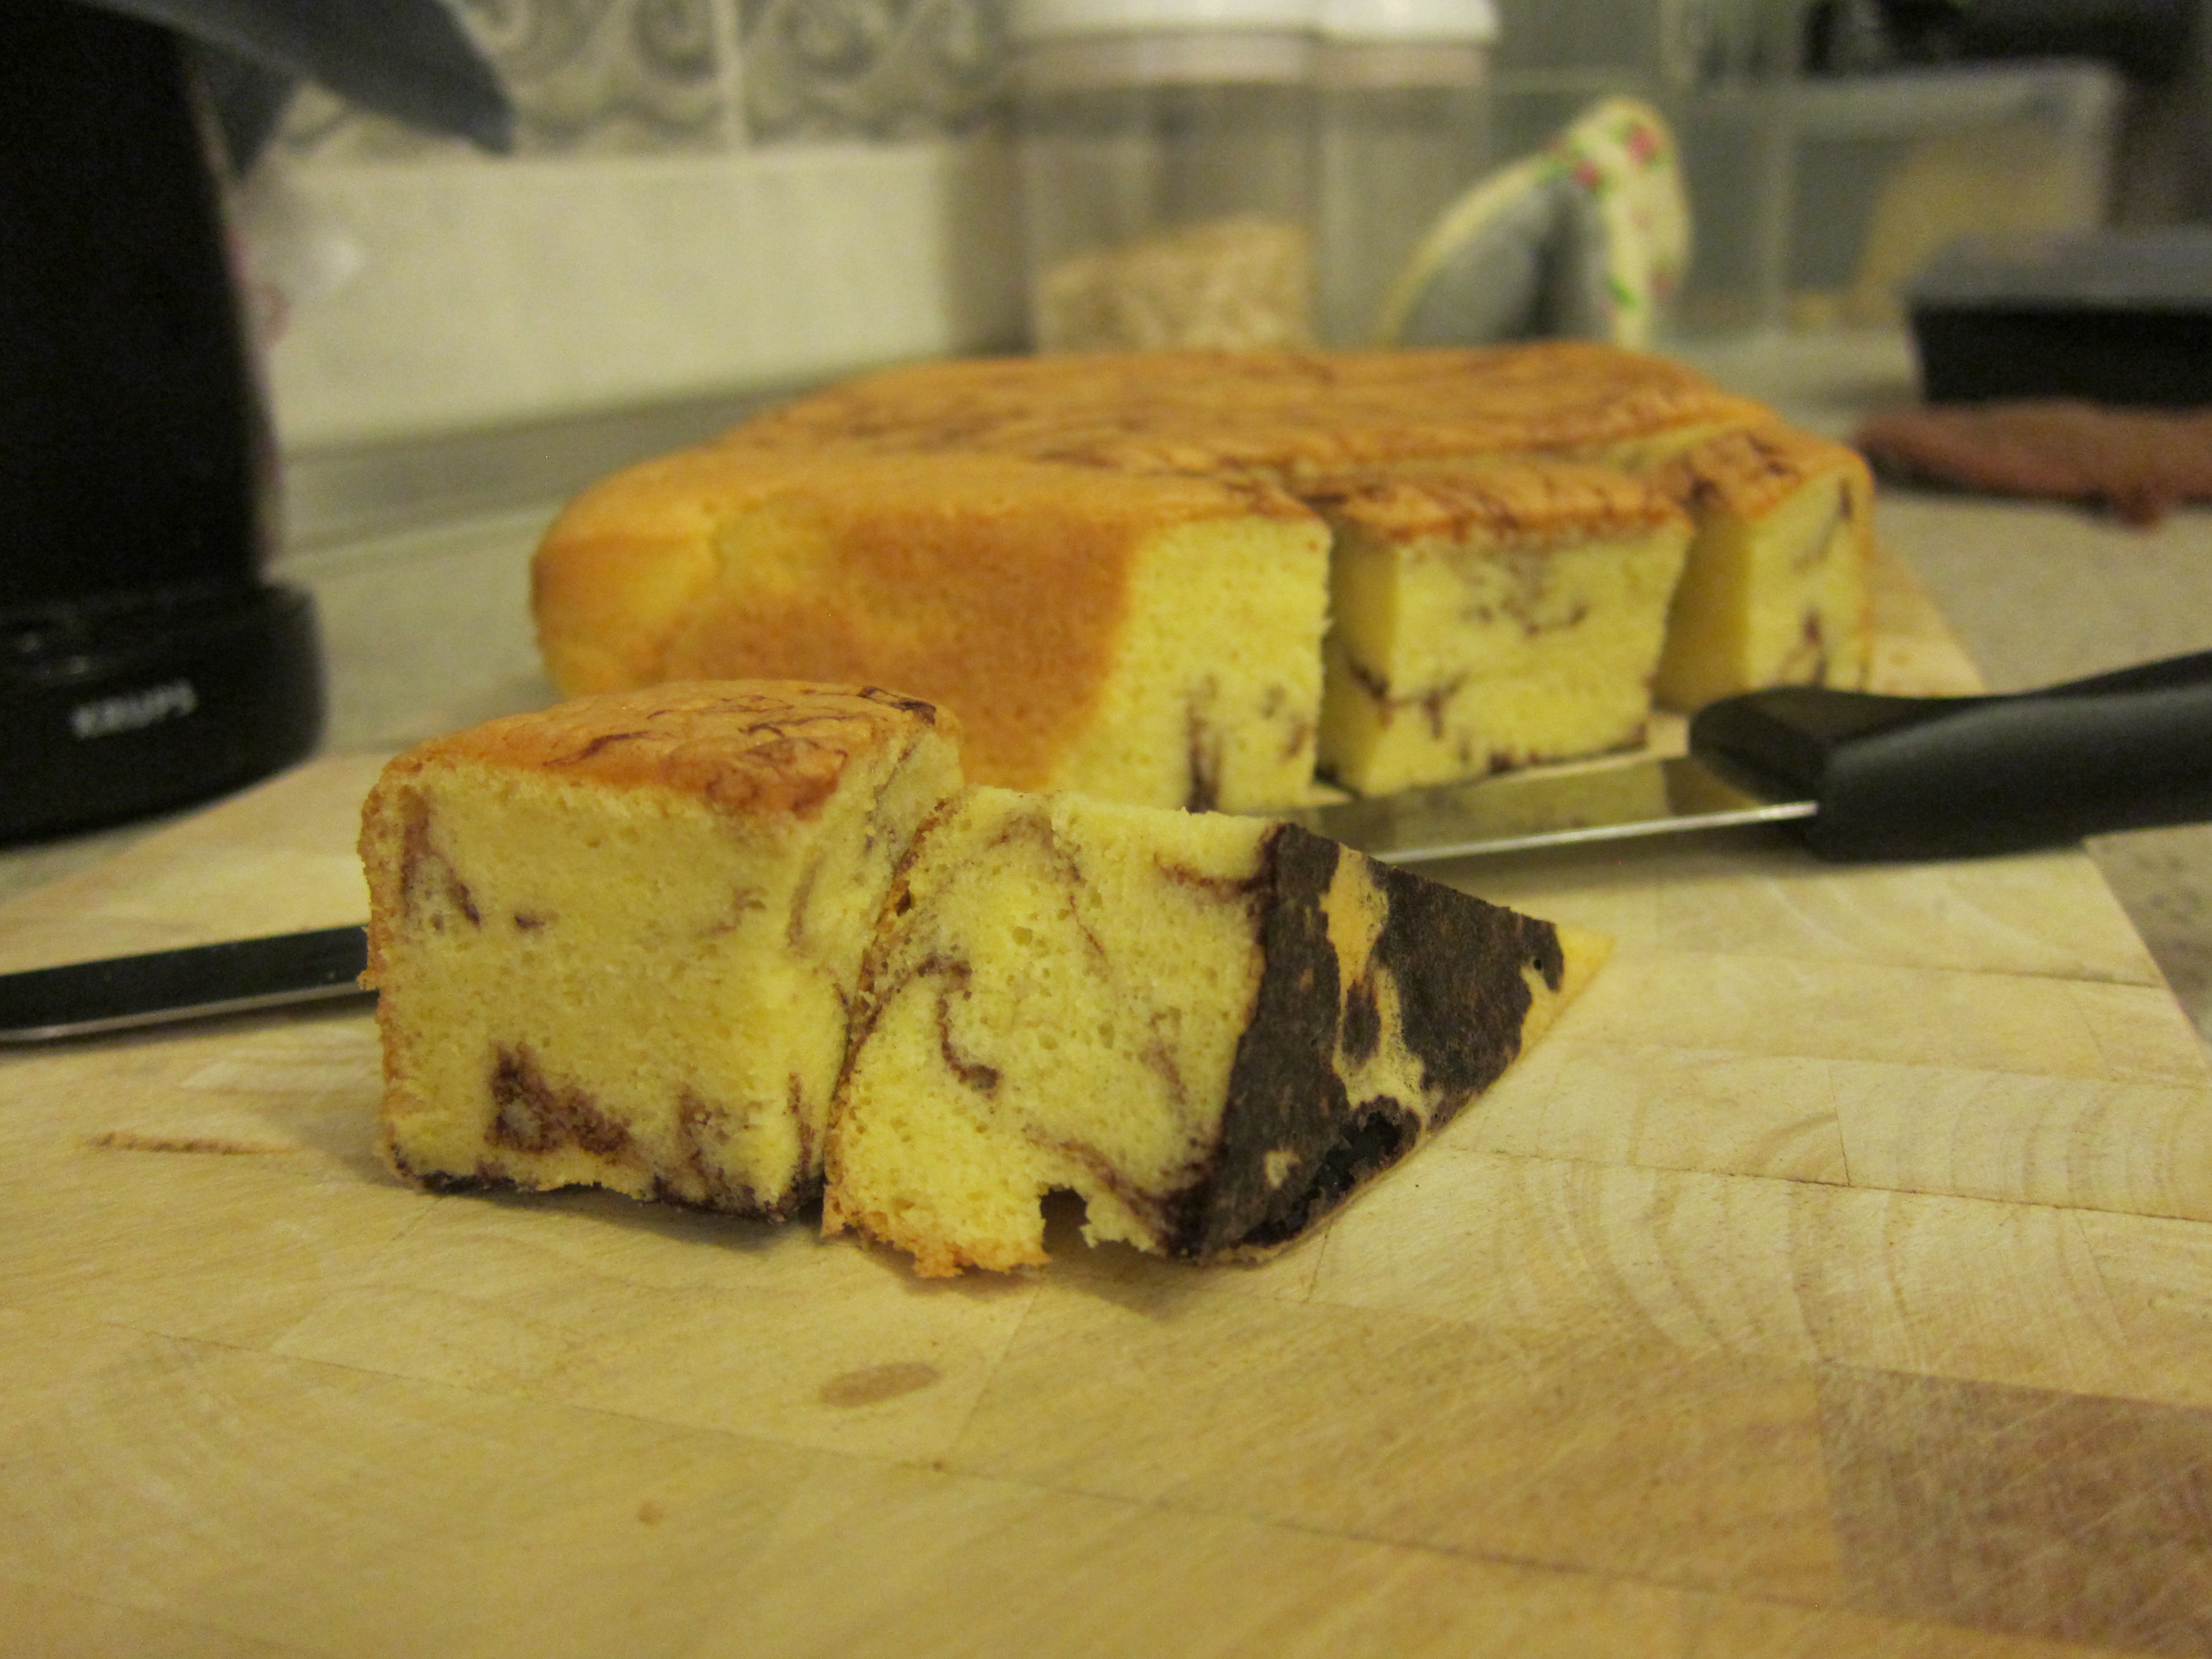
But then I realize I had a block of cheese sitting around in my fridge. My brain went ‘why not?!’ and the brownies were soon swirled with cheese.

IMG_7482

It’s not that difficult to make really, just that extra three ingredients and one additional step of stirring in the cheesecake batter, before you bake it, cool it and slice it as per normal.

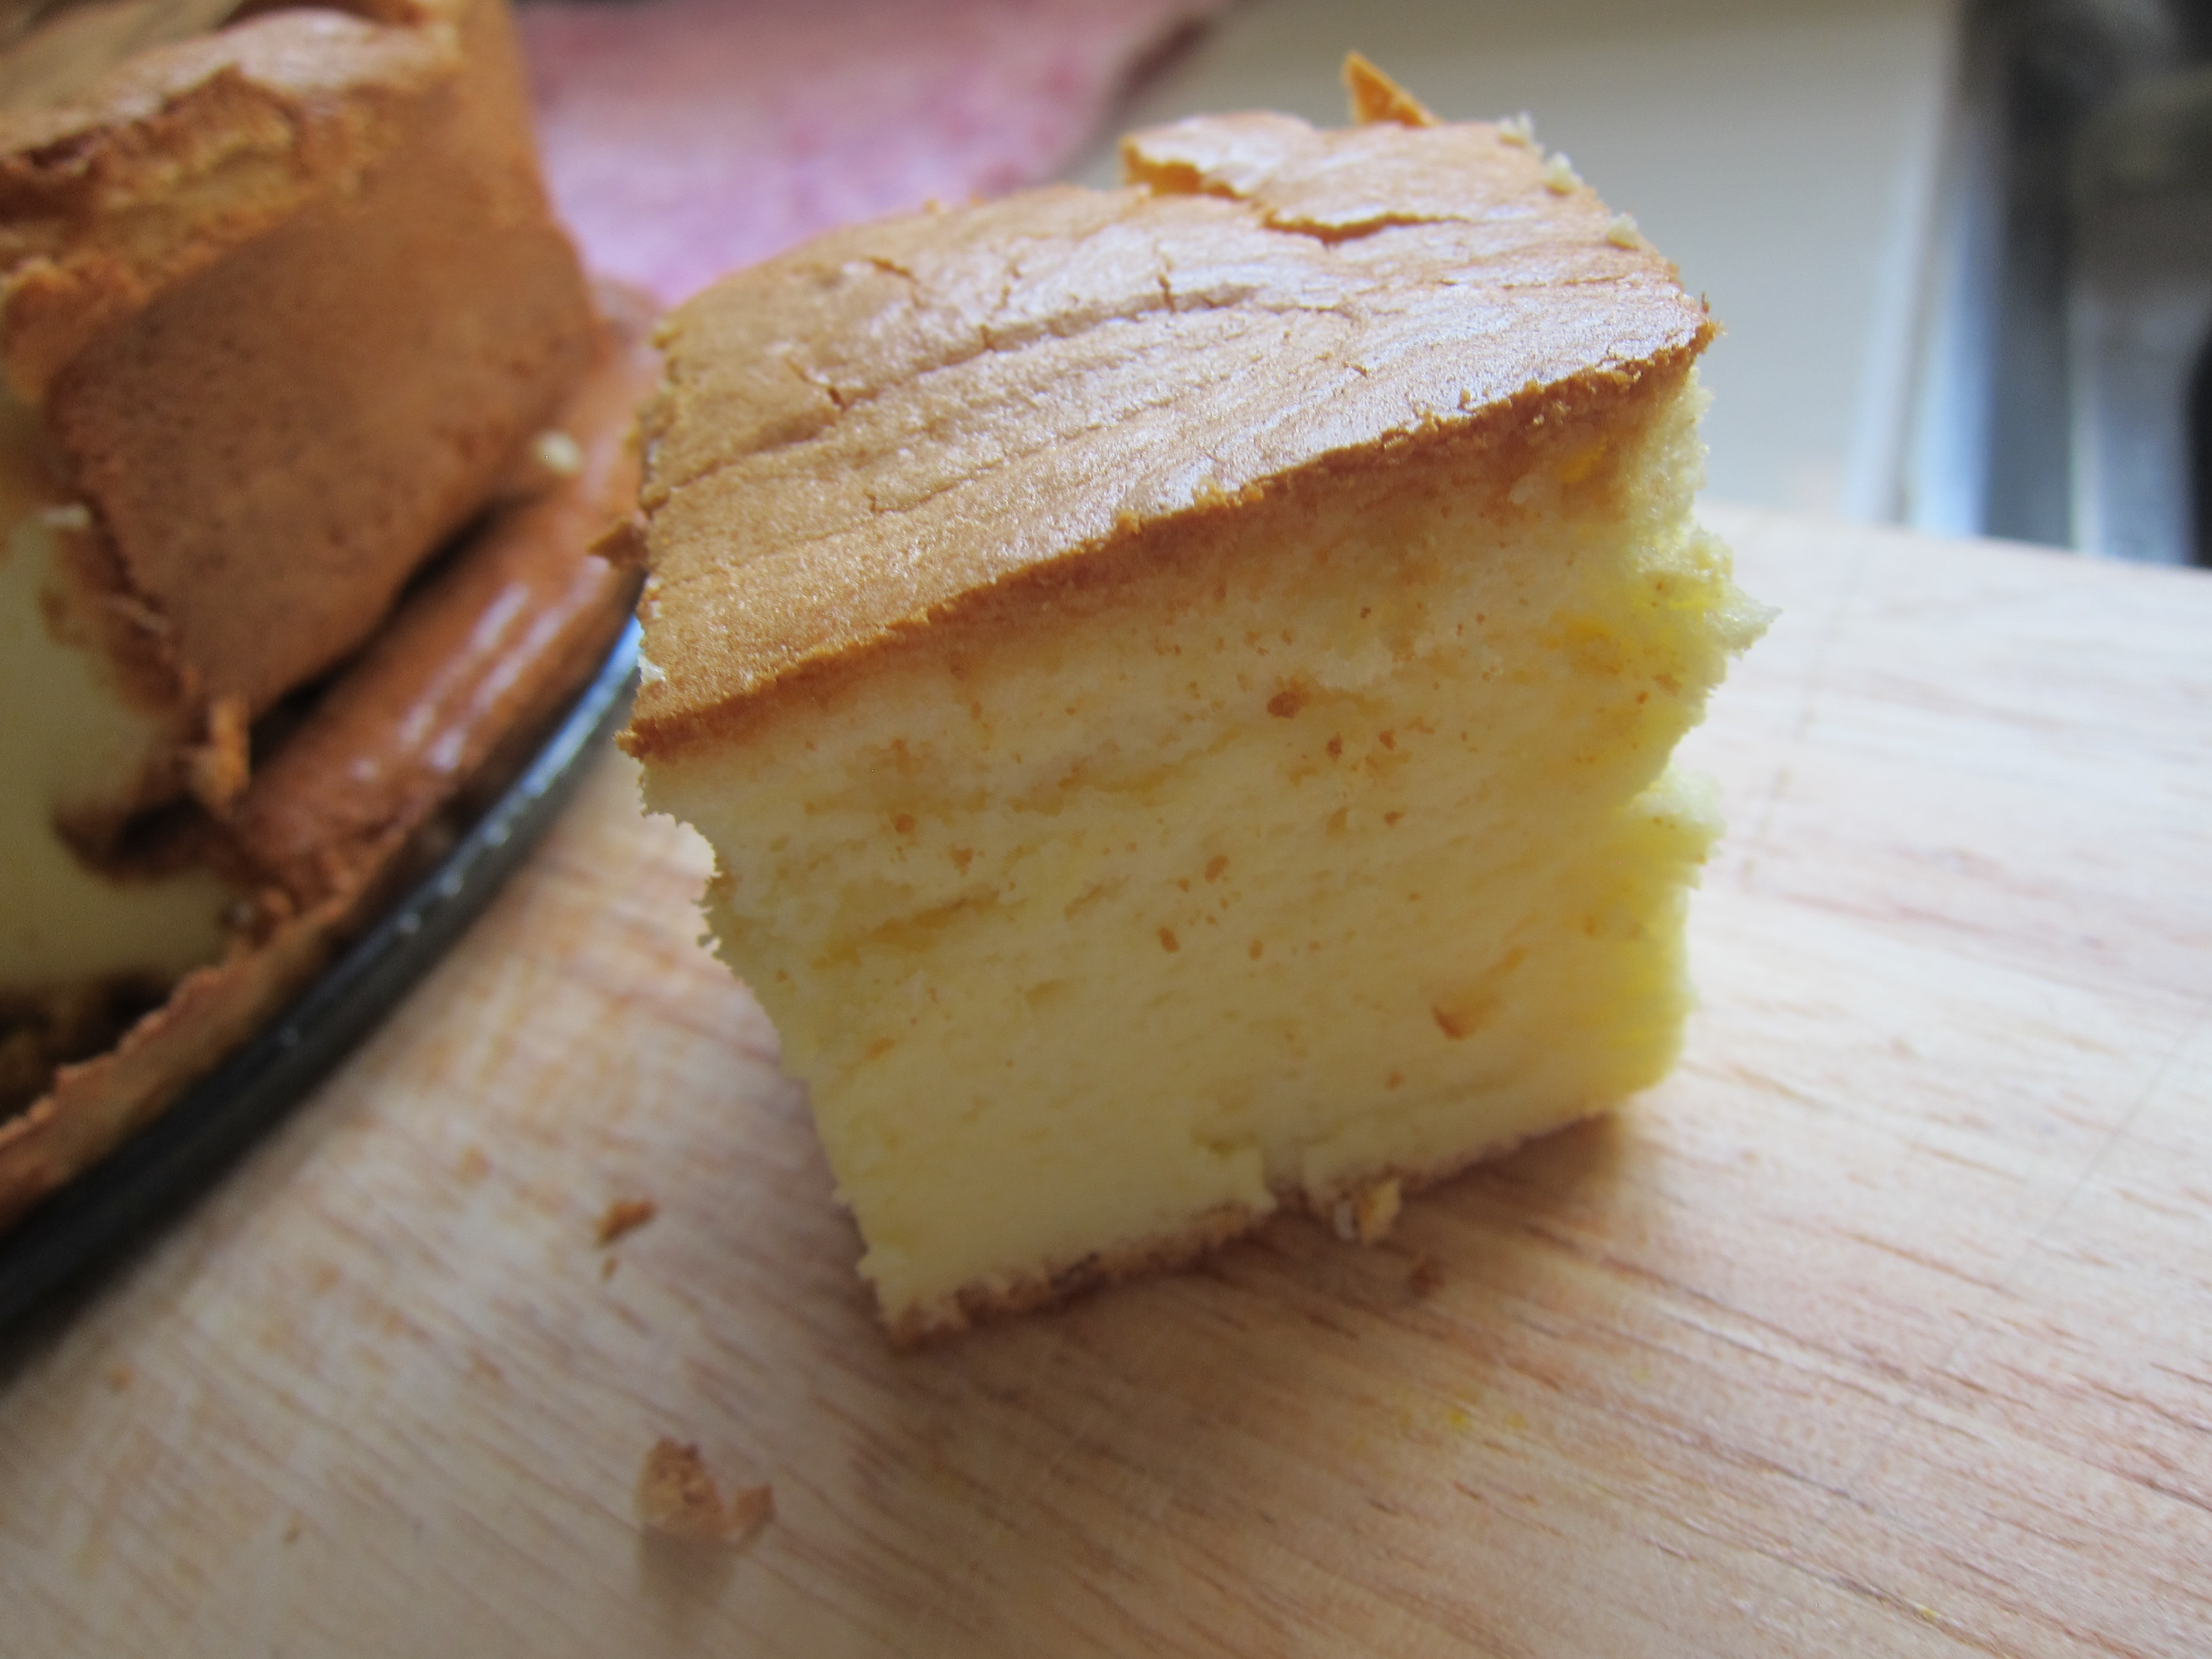
My butterfingers resulted in a bit of a disaster though. I took the cake out a little bit early then I was supposed to, and when I turned it out of my silicon pan, found that the middle part of it was still a little undercooked. When I wanted to flip it back in the pan and bake it for a further 15 minutes, my fingers slipped… and half my cake fell to the ground. So what you see in the picture is half of my cake, plus the excess batter that was all out of shape due to being unceremoniously squashed, stuffed in to cupcake liners.

IMG_7479

But regardless, the taste was phenomenal! The cheese lended a type of moisture to the brownie that is otherwise difficult to emulate. I saved a piece for myself for dessert the next day. When heated up and eaten with vanilla ice cream… bliss. Trust you me, it’s sinful but every bite is worth the caloric indulgence.

Cheesecake Swirled Brownies

Ingredients for Brownies

  • 3 cups all purpose flour
  • 1.5 cups white sugar
  • 6 tbsps cocoa powder, unsweetened
  • 2 tsps baking soda
  • 2 tsps baking powder
  • 2/3 cup vegetable oil
  • 1 cup water
  • 1 cup milk
  • 2 tbsps white vinegar
  • 2 tsps vanilla extract

Ingredients for Cheesecake

  • 8 oz cream cheese
  • 1 egg yolk
  • 3/4 cup sugar

Instructions

  1. In a large bowl, combine dry ingredients.
  2. Combine wet ingredients in a separate bowl
  3. Pour liquid ingredients all at once with the dry ingredients, and whisk till a smooth batter forms
  4. Preheat oven to 170C, and pour brownie batter in to a greased 9/13 inch pan
  5. Leave brownie batter aside, and prepare the cheesecake batter by whisking all the ingredients together until well incorporated
  6. Dollop a spoonful of cheese in to the batter at a time, and use a fork or a knife to swirl it out. It’s okay if you prefer bigger chunks, makes for a better bite.
  7. Bake in preheated oven to 30 – 35 minutes, and cool in pan before serving cold, or warm with ice cream.


0

pandan kaya banana swiss roll

Swiss rolls have always fascinated me. Even as a kid, I loved cakes and chocolates and all things sweet, but swiss rolls in particular caught my eye. To me, a cake was eaten in slices, firm and crumbly as you poke in to it. So how in the world did one manage to get a cake to roll up so beautifully?

IMG_7486

As I grew older and understood more, I also finally got to know a whole new world that was sponge cakes, the ones that were largely made of meringue and air, which was soft, fluffy, airy and pliable.

Still, I remained very afraid to try my hand at making the rolls. Surely there was some kind of intricate technique to it right?

Well, not really. All you need is cloth, a deft hand and a whole lot of egg whites and patience. It’s  not difficult, so long as you bake the cake itself fine. Patience is needed to wait for the cake to set in its roll as you cool it within the cloth.

20140619_143000

Some people don’t do it, but I like to roll up my swiss roll in a cloth the moment it comes out of the oven, and let it cool to set its shape. It makes the roll much easier to roll after you spread the filling on. I also dislike the standard cream filling for store bought swiss rolls (I don’t like cream, the horror. xD), so I always improvise when I make swiss rolls.

20140619_142955

With leftover pandan in the fridge, I ended up making a pandan cake as my roll, and mashed up two bananas mixed in with kaya. Bananas + kaya + pandan seem to be a match made in  heaven really, they all taste so good together! So good, Domino’s in Malaysia has even made their own kaya pandan dessert pizza topped with banana slices. That’s how much we love that combination.

IMG_7488

It’s light and delicious, and without the oily feeling from the cream too. This time it cracked a little at the top, largely due to the cake itself being too thick, but I’ll definitely be further perfecting this recipe because this is by far my favorite type of cake.

Pandan Kaya Banana Swiss Roll

Ingredients

  • 80g all purpose flour
  • 20g corn flour
  • 1 tsp baking powder
  • 1/4 tsp salt
  • 4 egg yolk
  • 35g castor sugar
  • 30g oil
  • 90g coconut milk
  • 2 tbsp pandan extract/paste


  • 4 egg whites
  • 30g castor sugar
  • 1/2 cream of tartar

For the Banana Kaya

  • 2 bananas, mashed till mildly chunky
  • 2 tbsps of kaya

Instructions

  1.  Line the sides and bottoms of a 35 x 27 x 3cm tin with baking paper.
  2. Sift flour, baking powder and salt together.
  3. Whisk egg yolks and sugar until the sugar dissolves, and add in oil, pandan paste, milk and flour mixture. Mix till smooth with a wooden spatula.
  4. Whip egg whites till foamy and add in cream of tartar and sugar, whipping until stiff peaks form.
  5. Mix meringue with egg yolk mixture, folding it in until no white streaks remain.
  6. Pour in to the lined tin and bake in a preheated oven at 200C for 15 minutes.
  7. Mix together the kaya and mashed banana and set aside.
  8. Take out from tin immediately when done, and invert on to a clean kitchen cloth.
  9. Roll the cake in to the kitchen cloth as shown above, and leave to set in the position.
  10. Once cool, unroll it and spread the kaya banana mixture all over the insides, and roll it up.
  11. Leave in fridge for at least one hour, before serving.
3

recyclables: evaporated milk sponge cake

The start of a new series, the Recyclables! I call it such because I tend to cook meals, and end up having leftovers that I have no idea what to do with. With the inner baker in me, it really shouldn’t be surprise that more often then not, I end up using them in some form of baking or other. Take for example, this evaporated milk cake.

IMG_7463

Over the weekend I made carbonara for dinner for two, but was left with a small bottle of milk left. Not enough for another plate of carbonara, but with no idea what to do with it, and not wanting to waste it, I ended up making a milk cake out of it!

IMG_7462

I love milk, the texture and taste is divine on my tongue. But, I can’t really drink full cream milk. I seem to have developed a mild case of lactose intolerance in recent years, so I tend to stick with soy milk or skim milk, but I still veer towards  milk products when I bake. Luckily enough, those don’t effect me as much, as long as I don’t gorge on them.

IMG_7466

But back on the cake. It is surprisingly easy to make, with minimal washing up time afterwards, and it looks simple yet gorgeous. For a easy, tea-time cake to go with coffee or even hot chocolate, this would be perfect. It’s simple taste and fluffy texture would enhance the coffee or chocolate, and its simple enough to not taste cloying too.

IMG_7464

Expect more from this series in this future, as I love to use up any leftovers in the fridge to come up with… sometimes crazy concoctions. 😛

Evaporated Milk Cake

Ingredients

  • 137g cake flour
  • 1 1/4 tsp baking powder
  • 57g butter
  • 120ml evaporated milk
  • 3 large eggs
  • 120g granulated sugar
  • 1 tsp vanilla extract

Instructions

  1. Preheat oven to 170C, and line the bottom of a 9 inch springform pan. Sift together salt, baking powder and cake flour together and set aside.
  2. Put butter and milk in a saucepan, and heat till butter is just melted, before removing from heat.
  3. In a mixing bowl, beat eggs with a whisk until combined and frothy, and gradually add in sugar and vanilla extract
  4. Beat on high speed for 6 mins, until pale and tripled in volume.
  5. Sift 1/3 of the flour over the egg, and fold with a spatula
  6. Repeat with the remaining flour in two separate additions.
  7. Heat up milk until just boil, and add in to egg batter, folding to combine.
  8. Pour in to prepared cake tin and bake in preheated oven for 25 – 30 minutes, until an inserted cake tester comes out clean.
  9. Cool cake in pan for 10 minutes, and invert on to wire rack to let cool completely.
1

syrup bites

Sometimes the whim to start baking will hit quite suddenly, out of nowhere, and extremely unexpected. While I usually have ingredients on hand, sometimes I really will only have the most basic of ingredients around, and its difficult to make something when you’re lacking this ingredient or that.

IMG_7468

This syrup bites are extremely easy to make though, and use the most basic of ingredients. In fact, look around and you could probably make it right away. Syrup bites aren’t exactly a very common recipe found on the internet. I myself found it from Kimberly Cun’s blog, who in turn found it from a pretty rustic looking cookbook. And like her, I found it much like the Anzac biscuits sold during Anzac day in Australia, except with a greater fragrance from the golden syrup.

IMG_7467

The golden crust on top is only a hint of the delicious bites that is to come as you eat them, and you could even cheat yourself and say that its healthy! They do contain a healthy dose of rolled oats after all.

IMG_7470Dunk them in milk and they taste even better, but even by itself its not really dry. The bit of coconut flakes added in does make a whole lot of difference, as they meld well with the delicious fragrance of the golden syrup.

IMG_7469Give it a try. At the risk of sounding like I’m repeating after her, you’ll love it as much as we do. :3

Golden Syrup Bites

Ingredients

  • 100g self raising flour
  • 75g rolled oats
  • 25g dessicated coconut
  • 100g butter
  • 100g sugar
  • 2 tbsp golden syrup
  • 1 tsp baking soda
  • 1 tbsp fresh milk

Instructions

  1. Whisk together oats, self raising flour and coconut in a bowl and set aside.
  2. Mix baking soda with 1 tbsp milk until melted, and set aside.
  3. Melt butter, sugar and golden syrup over low fire in a saucepan, constantly stirring until everything has melted.
  4. Add baking soda and milk mixture in to the butter mixture. The mixture will thicken slightly upon addition for a minute more before removing from heat.
  5. Add the butter mixture in to the previously mixed flour mixture, and combine until no excess flour remains. Leave to cool for 30 minutes or until firm and cool to the touch.
  6. Preheat oven to 180C.
  7. Roll in to 24 pieces, forming balls and placing upon a lined baking sheet. Leave some space in between for expansion.
  8. Bake in preheated oven for 15 minutes. Leave to cool, before consuming either by itself or with milk.
0

3 ingredient japanese cheesecake

Baking is tedious work, so sometimes I wonder why I find such joy in it. It’s a laborious process of measuring, chopping, shaving, sifting, whisking and double-boiling, but the results.. oh so worth it. Sometimes though, certain recipe’s only need a pinch of this or a teaspoon of that, and I end up with a lot of leftovers I have no idea what to do with.IMG_7456

The same thing happened over the weekend, when I used half a block of cream cheese to make my brother’s cheesecake jars. At a loss of what to do with the rest of the cheese, I suddenly remembered I had a block of white chocolate left from the previous time I made a birthday cake (used it for decorations only), and immediately pounced on this internet-viral 3 ingredient cheesecake.

IMG_7453

While the ingredients seem simple, the steps are as laborious as making your standard japanese cheesecake. The only difference is that you’re only working with three ingredients.

IMG_7455

Flourless and sugarless, the sweetness comes from the melted white chocolate, and honestly, its way more moist then your standard japanese cheesecake too. It’s not as tall either, but that might depend on the size of the cake pan you use. Mine was fairly big, so my cake ended up without the requisite height, but the taste was delightful. It tasted like a full fledged baked cheesecake, deliciously cheesy and crumbly.

IMG_7454

If you find yourself with too much leftover white chocolate (which afterall, is rarely used in baking no?), this might be a good idea for a quick cheesecake recipe.

3-Ingredient Japanese Cheesecake

Ingredients

  • 120g white chocolate
  • 120g cream cheese
  • 3 cold eggs, separated

Instructions

  1. Line a cake pan of your choice with baking paper, and preheat oven to 170C.
  2. In a double boiler, melt white chocolate and stir till smooth. Add in the softened cream cheese and whisk until well mixed and smooth.
  3. Take the pot off the heat, and whisk in the 3 egg yolks.
  4. Beat the egg whites till stiff peaks form, and it will not spill if tipped over. Fold in 1/3 of the meringue in to the chocolate, cheese and egg yolk mixture.
  5. Once well incorporated, add in the rest of the meringue and fold to combine.
  6. Pour in to prepared cake pan, and bake in preheated oven for 15 minutes.
  7. Reduce heat to 160C and bake for a further 15 minutes. Leave the cake to cool inside the oven for 15 minutes, before removing.
  8. Let cake cool completely on counter, and then refrigerate for 2 – 3 hours until firm, before serving.
4

kuih bakar | baked pandan custard

My love for pandan is never ending. This probably… actually, it is mostly from my grandmother’s influence really. Growing up with a grandmother of baba nyonya descent, pandan is heavily featured in most of her cooking, dessert and dishes alike. Pandan is used to give fragrance to curries, color to kuihs, taste to food, in everything! it’s used everywhere, and I eventually ended up associating pandan with a great part of my childhood.

IMG_7448

While my love for cakes, pastries and baked goods are never ending, I also have a great love for the desserts of my descent, commonly called nyonya kuihs around my parts. There’s a wide variety of them, although most of them require a lot of time and effort in making them. A common running theme through them though, is that pandan leaves are used in most of them.

IMG_7452

My old house was a corner lot, and we had a large garden on the left side of the house. I remember there being copious amounts of pandan plants being planted surrounding the gardens, plants which my grandmother would always pick from come evening, because she was always using them in some way or another. But what I remember most of the pandan, is how my grandmother would use them in her desserts, particularly when she made kaya or any form of nyonya kuih’s. While we can buy them outside easily enough, the difference is that my grandmother does not skimp when she adds them in her cooking, which resulted in a dish that is deliciously and heavily scented with the awesome taste of pandan, something you can’t get in storebought products.

IMG_7451

But as I’ve said, most of the nyonya kuihs have horrendously arduous processes. The simplest one is the one I’ve made today, the baked pandan custard, or what we commonly call kuih bakar. Bakar means ‘burnt’, but in this case it is just oven baked till it is crusty and burnt on top, but retains a deliciously custardy center. The green comes entirely from pandan, and mingled together with coconut milk and sesame seeds, tastes delicious.

IMG_7449

Hopefully, this will do my grandmother’s heritage justice, and maybe someday I’ll find the motivation to try one of the more difficult recipe’s of kuih nyonya out there.

Kuih Bakar | Baked Pandan Custard

Ingredients

  • 3/4 cup sugar
  • 1 1/4 cup coconut milk
  • 1 cup flour
  • 1/2 cup pandan extract/juice
  • 2 large eggs
  • 1 tbsp melted butter
  • 1 tbsp sesame seeds

Instructions

  1. Preheat oven to 160C and grease a baking pan
  2. Mix all ingredients except for sesame seeds together, and whisk till well combined and no lumps can be seen. If you want to, you could sieve it for a smoother consistency.
  3. Pour in to prepared baking pan and sprinkle sesame seeds over. Bake in preheated oven for around an hour, or until set and golden brown. An inserted skewer should come out clean.
  4. Let cool before slicing and serving.
5

japanese souffle cheesecake

Cheesecakes are without a doubt everyone’s favorite, but the dense, full creamed types can be a little too much sometimes, especially after you’ve had a heavy dinner. I for one, would never be able to devour another slice of cream cheese cake, not after I’ve had a full 7 course dinner. As much as I love my cakes, being that full just puts me off any food in general.

IMG_7318

But cheesecakes can also be light, moist, fluffy and easy on the stomach, without feeling as if you’ve consumed a quart of cream. The Japanese Cheesecake manages to achieve just that, being airy and moist but just sweet enough to satisfy that sweet tooth that seems to come to the forefront after a meal.

IMG_7317

The japanese souffle cheesecake isn’t the easiest cake to make though. It’s simple in steps, but tricky intechnique. The folding of the egg whites is crucial, as is the water bath needed to bake the cake, and the timing in which you use to bake it. Too long and the cake might come out too dry, too short and the cake will be undercooked. Too much cheese and you’ll get a cracked top, and if you don’t grease the sides of your pan, your cake might crack as well.

IMG_7317

Not to mention the need to slowly let it down to room temperature. Any drastic changes in temperature would make the cake shrink and wrinkle, so you must never open the door of the oven to check on the cake halfway. This cake requires skill, but most a lot of patience.

IMG_7315

My first attempt at this cake wasn’t what I’d call perfect, but it comes close to it. My tops cracked a little, but the texture was otherwise to die for. The delicious scent of cheese mingling with milk and just a tad bit of sweetness. The texture was fine and almost poreless, as I whisked my egg whites on a low speed throughout. Its wrinkly, but the tastes more then makes up for its less then perfect appearance.

Japanese Souffle Cheesecake

Ingredients

  • 100g granulated sugar
  • 6 egg yolks
  • 6 egg whites
  • 1/4 cream of tartar
  • 50g salted butter
  • 225g cream cheese
  • 100ml full cream milk
  • 60g all purpose flour
  • 20g corn flour

Instructions

  1. Peheat oven at 160C, and grease and line an 8 inch loose bottomed cake tray.
  2. Melt cream cheese, milk and butter over low flame, and leave to cool.
  3. While cream cheese mixture is cooling, whisk egg whites with cream of tartar until foamy, and add in sugar and whisk till stiff peaks form.
  4. Once the cream cheese has cooled, fold in flour, cornflour and egg yolks and mix well.
  5. Fold in the egg white mixture in to the cheese mixture, and fold until no streaks are visible. Pour prepared battered in to the prepared cake tin.
  6. In the oven, place 4 – 5 ramekins of water under the baking rack, before placing cake on top of the baking rack. Bake for 1 hour and 10 minutes, or until set and golden brown. If the cake is undone and the top is browning too quickly, tent a tin foil over it and bake till set.
  7. Leave to cool in oven with door ajar, for 30 minutes to 1 hour, as any sudden temperature change may cause cake to collapse.
1

Lemon Chiffon Cake

Lemon goodness! Somehow, lemon works in any form of baked goods. Really! They make taste everything taste so fragrant, with a tangy aftertaste that lingers and makes you crave for more and more.

IMG_7300

I was feeling itchy fingers one evening, and wanted to use up some butter in my fridge. Somehow I ended up making a lemon chiffon cake… which didn’t need a single block of butter at all.

IMG_7297

In my defense! I did have about four lemons to use up, and they were drying up in the fridge so I figured I might as well use it. And chiffon cakes are a new obsession of mine though, so light and airy, not cloying and doesn’t make you feel as if you consumed a tonne of butter at all!

Mine came out a little disfigured, cause it fell apart while unmoulding, but the taste was mindblowing!

IMG_7298

While light, and not too heavy in sweetness, the delicious tang of lemons more then made up for it! If you like lemons, this is definitely the recipe for it. Try it with some cold juice, it would be perfect.

Lemon Chiffon Cake

Ingredients

  • 70g lemon juice
  • 4 egg yolks
  • 100g sugar
  • 45g oil
  • 120g plain flour
  • zest of 1 lemon
  • 5 egg whites

Instructions

  1. Preheat oven to 160C, and grease a tube pan.
  2. Whisk together egg yolks, 30g sugar and mix well.
  3. Add in oil, lemon juice and zest and mix, before adding in flour.
  4. In a clean and dry bowl, whisk egg whites until foamy, and gradually beat in sugar until soft peaks form.
  5. With a spatula, fold in 1/3 of the egg white into the yolk mixture until no streaks are left. Repeat with half of the remaining egg whites. Pour the resulting batter in to whats left of the egg white mixture, and fold to combine.
  6. Pour in to greased tube pan, and drop pan a few times on counter to get rid of trapped air bubbles.
  7. Bake in preheated oven for 30 minutes or until an inserted toothpick comes out clean.
  8. Invert pan and let cool completely before unmoulding.
2

Baked Egg Cake

The earliest cake I have in my childhood memory isn’t my favourite banana cake, nor is it the ever famous, super commercialized red velvet. It is a simple one, with the bare minimum amount of ingredients and no fussy tastes. It’s a old fashioned steamed egg cake, or I know it better as 鸡蛋糕.

IMG_7294

I still remember my grandmother, with no electric mixer nor fancy cake making utensils, would be crouched in our granite wet area kitchen using a hand mixer to mix the pale white batter, fiddling around with the gas stove and putting the lid on the steamer.

IMG_7293

Half an hour later I would have the fluffiest, most delicious cake to eat, and it is made with only eggs, sugar and flour, or if she’s filling fancy, some sprite. It is absolutely no frills, but tastes delightful.

1486910_10202676239256779_640780499_n

I have remade the cake myself once or twice, and the tastes remains the same. Once in awhile, you don’t want too much different flavours confusing your taste-buds, and this simple cake is just right with coffee on a relaxing evening.

Recently, I came across a baked version of my favourite childhood cake. So of course, I had to give it a go.

IMG_7292

The result was delightful! It still tastes as light and as uncomplicated as the steamed version, but just a more moist and dense, not as fluffy and airy as the steamed version. It doesn’t vary in taste much, but in texture. So if you’re feeling like a fluffy, light cake but too lazy to go through the hassle of setting up your steamer, this seems to be the perfect choice.

Baked Egg Cake

Ingredients

  • 6 egg whites
  • 6 egg yolks
  • 1 whole egg
  • 100g icing sugar
  • 100g corn oil
  • 130g self raising flour
  • 1 tsp cocoa powder + 1 tbsp hot water

Instructions

  1. Preheat oven at 170C
  2. Mix together egg yolks and whole egg together, whisk with corn oil until combined
  3. Sieve in the flour to the egg yolk mixture and set aside.
  4. Whisk egg whites till bubbly, and add icing sugar in by batches, whisking till a stiff peak.
  5. Add one third of meringue to egg yolk mixture and fold, before pouring the egg mixture in to meringue and mix well at low speed.
  6. Pour mixture in to 8inch lined cake pan, leaving 2 tbsps of the plain mixture to mix with cocoa paste.
  7. Drizzle cocoa paste on plain batter and draw lines using toothpick.
  8. Bake in preheated oven for 45 minutes to an hour.
  9. Overturn cake immediately once cake is out, and leave to cool before slicing.
1

almond honey cake

I still have half a bag of almonds to go. It’s a good thing my friends and family like eating nuts in general, so they don’t mind my abundant use of almonds in my bakes these days. But this cake is fairly basic, pretty much a modified version of a butter cake.

IMG_7268

What makes it different, is how the almonds impart a distinctly fragrant taste to it, the fragrance that is so notable to nuts when they are baked or roasted.

IMG_7270

The golden hue to the cake is gorgeous too, albeit making it a little difficult to take pictures of. The tight but perfectly moist crumbs packed with the delicious sweetness imparted by honey (or agave, as I used here) also makes it light, airy, not too packed with cloying flavors, and a little addictive.

IMG_7266

It’s simple enough to whip up, especially when you need to use up a load of nuts like I do now. Half a bag to go!

Almond Honey Cake

Ingredients

  • 230g unsalted butter, softened
  • 150g sugar
  • 200g all purpose flour
  • 4 eggs
  • 100g ground almonds
  • 2 tsp baking powder
  • 4 tbsp milk
  • 2 tsp vanilla extract
  • sliced almond for garnish

Instructions

  1. Grease a baking pan, preheat oven to 180C.
  2. Combine flour, almond meal and baking powder, whisk well and set aside.
  3. Cream together sugar and butter until well combined, and then add in eggs one by one, beating in between each addition.
  4. Add in vanilla extract and mix till combined.
  5. Using a wooden spatula, add in flour mixture and fold it in.
  6. Add in the milk, and mix till combined.
  7. Pour batter in to prepared baking pan and spread evenly. Sprinkle with sliced almonds and press down lightly.
  8. Bake for 45 – 50 minutes, or until a toothpick comes out clean. Let cool for 15 minutes before removing, and cutting.